


PVE下it87安装驱动+风扇调速教程

前情提要
最近给我的All in Boom主机更换了机箱和电源,原来的esxi没有LXC容器比较麻烦,于是我打算装回PVE。装回PVE后问题接踵而至,首当其冲的就是风扇噪音的问题,Linux下的风扇调度极其智障,稍加负载立刻风扇立刻拉满,再由于我的主机放在卧室衣柜上,有时候就会突然吵起来,十分影响环境。
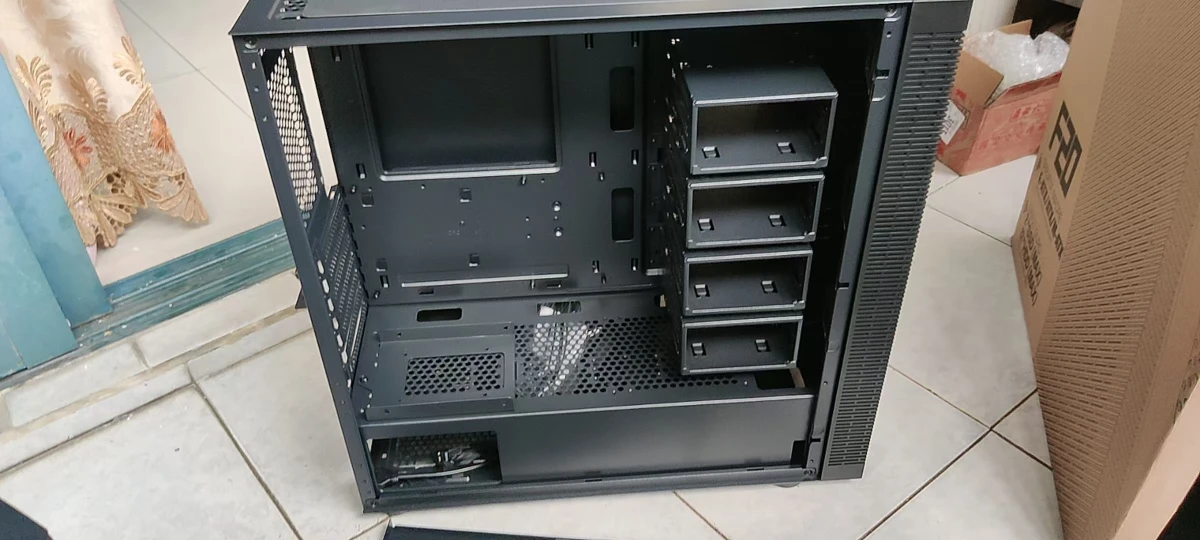
于是我上网找了各种教程和方法,发现网上关于PVE调整风扇转速的教程基本上比较笼统,而且有些不支持新版的PVE,我总结了一些步骤结合方法,于是就有了这一篇(十分水的)教程文章,话不多说,开始吧!
编译it87驱动
原版的PVE是不内置it87驱动的,由于常规主板的传感器芯片基本多为ITE Super I/O,所以一般情况下没有编译安装驱动之前,是无法进行pwm的调速的(系统识别不出来)
首先需要查看内核版本并且安装内核头文件
root@pve:~# uname -a #查看内核版本Linux pve 7.0.12-1-pve #1 SMP PREEMPT_DYNAMIC PMX 7.0.12-1 (2026-06-09T21:07Z) x86_64 GNU/Linuxroot@pve:~# apt install -y linux-headers-7.0.12-1-pve或者直接使用此命令安装
root@pve:~# apt install linux-headers-$(uname -r)然后需要下载所需的驱动文件
root@pve:~# apt install gitroot@pve:~# git clone https://github.com/frankcrawford/it87.gitCloning into 'it87'...remote: Enumerating objects: 1251, done.remote: Counting objects: 100% (362/362), done.remote: Compressing objects: 100% (101/101), done.remote: Total 1251 (delta 318), reused 266 (delta 261), pack-reused 889 (from 2)Receiving objects: 100% (1251/1251), 29.11 MiB | 18.33 MiB/s, done.Resolving deltas: 100% (702/702), done.然后进行驱动的编译
root@pve:~# cd it87root@pve:~/it87#root@pve:~/it87# apt install -y dkms make gcc build-essential libelf-dev lm-sensorsroot@pve:~/it87# make cleanroot@pve:~/it87# makewarning: pahole version differs from the one used to build the kernel The kernel was built with: 130 You are using: 0 CC [M] it87.o MODPOST Module.symvers CC [M] it87.mod.o CC [M] .module-common.o LD [M] it87.ko BTF [M] it87.koSkipping BTF generation for it87.ko due to unavailability of vmlinuxroot@pve:~/it87# make install该驱动依赖hwmon_vid驱动,需要提前加载
root@pve:~/it87# modprobe -D hwmon-vidinsmod /lib/modules/7.0.12-1-pve/kernel/drivers/hwmon/hwmon-vid.koroot@pve:~/it87# modprobe -v hwmon-vidinsmod /lib/modules/7.0.12-1-pve/kernel/drivers/hwmon/hwmon-vid.ko之后加载it87驱动
root@pve:~/it87# insmod it87.koroot@pve:~/it87# dmesg |grep it87 #检测驱动是否加载成功[ 10.138124] it87: loading out-of-tree module taints kernel.[ 10.138136] it87: module verification failed: signature and/or required key missing - tainting kernel[ 10.138949] it87: it87 driver version <not provided>[ 10.139100] it87: Found IT8628E chip at 0xa40, revision 2[ 10.139185] it87: Beeping is supported如果dmesg有输出就代表驱动加载成功了,make再执行编译过程中如果有错误一般可以忽略,只要驱动成功安装就没有什么大问题,这样驱动就编译就告一段落了
驱动持久化
由于这样只是临时的安装完成(写在内存里),重启就会失效,所以我们需要进行驱动持久化(将驱动保存进内核grub参数里)
root@pve:~/it87# echo "it87" > /etc/modules-load.d/it87.confroot@pve:~/it87# Update-initramfs -u -k allroot@pve:~/it87# reboot重启后执行sensors查看结果
root@pve:~/it87# sensorscoretemp-isa-0000Adapter: ISA adapterPackage id 0: +63.0°C (high = +80.0°C, crit = +100.0°C)Core 0: +54.0°C (high = +80.0°C, crit = +100.0°C)Core 1: +54.0°C (high = +80.0°C, crit = +100.0°C)
acpitz-acpi-0Adapter: ACPI interfacetemp1: +27.8°Ctemp2: +29.8°C
it8628-isa-0a40Adapter: ISA adapterin0: 1.16 V (min = +0.00 V, max = +3.06 V)in1: 2.03 V (min = +0.00 V, max = +3.06 V)in2: 2.05 V (min = +0.00 V, max = +3.06 V)in3: 2.04 V (min = +0.00 V, max = +3.06 V)in4: 12.00 mV (min = +0.00 V, max = +3.06 V)in5: 1.08 V (min = +0.00 V, max = +3.06 V)in6: 1.54 V (min = +0.00 V, max = +3.06 V)3VSB: 3.38 V (min = +0.00 V, max = +6.12 V)Vbat: 3.12 Vfan1: 1739 RPM (min = 0 RPM)fan2: 0 RPM (min = 0 RPM)fan3: 0 RPM (min = 0 RPM)fan4: 0 RPM (min = 0 RPM)fan5: 0 RPM (min = 0 RPM)temp1: +43.0°C (low = +127.0°C, high = +127.0°C) sensor = thermistortemp2: +51.0°C (low = +127.0°C, high = +127.0°C) sensor = thermistortemp3: +60.0°C (low = +127.0°C, high = +127.0°C) sensor = Intel PECItemp4: +100.0°C (low = +0.0°C, high = +127.0°C)temp5: +56.0°C (low = +0.0°C, high = +127.0°C)temp6: +45.0°C (low = +0.0°C, high = +127.0°C)pwm1: 60% (freq = 23437 Hz) MANUAL CONTROLpwm2: 35% (freq = 23437 Hz)pwm3: 35% (freq = 23437 Hz)pwm4: 0% (freq = 23437 Hz)pwm5: 0% (freq = 23437 Hz)intrusion0: ALARMsensors中Fan1已经可以正常显示风扇rpm转速
调整风扇
首先先安装风扇控制程序
root@pve:~/it87# apt install -y fancontrol然后进行风扇的检测
root@pve:~/it87# pwmconfig# pwmconfig version 3.8.0This program will search your sensors for pulse width modulation (pwm)controls, and test each one to see if it controls a fan onyour motherboard. Note that many motherboards do not have pwmcircuitry installed, even if your sensor chip supports pwm.We will attempt to briefly stop each fan using the pwm controls.The program will attempt to restore each fan to full speedafter testing. However, it is ** very important ** that youphysically verify that the fans have been to full speedafter the program has completed.Found the following devices: hwmon0 is acpitz hwmon1 is nvme hwmon1 is coretemp hwmon1 is nct6798Found the following PWM controls: hwmon1/pwm1 current value: 255 hwmon1/pwm2 current value: 255 hwmon1/pwm3 current value: 255 hwmon1/pwm4 current value: 153 hwmon1/pwm5 current value: 153 hwmon1/pwm6 current value: 255 hwmon1/pwm7 current value: 255Giving the fans some time to reach full speed...Found the following fan sensors: hwmon1/fan1_input current speed: 2521 RPM hwmon1/fan2_input current speed: 0 ... skipping! hwmon1/fan3_input current speed: 0 ... skipping! hwmon1/fan4_input current speed: 0 ... skipping! hwmon1/fan5_input current speed: 0 ... skipping! hwmon1/fan6_input current speed: 0 ... skipping! hwmon1/fan7_input current speed: 0 ... skipping!Warning!!! This program will stop your fans, one at a time,for approximately 5 seconds each!!!This may cause your processor temperature to rise!!!If you do not want to do this hit control-C now!!!Hit return to continue:启动后pwmconfig会让所有支持PWM调速的风扇都运转在最高转速 此处按下回车之后程序会对每个风扇进行识别,会调整风扇转速到最低,要注意机箱中风扇是否正在被控制
程序测试了第一个风扇控制器,在上一步中的Found the following fan sensors可以看到,只有1号cpu控制器有连接风扇,其他都没有安装风扇,如果无需测试可以直接输入n跳过
输入y执行风扇1的转速测试 此处会逐渐降低风扇转速,直到风扇停转
Testing pwm control hwmon1/pwm1 ... hwmon1/fan1_input ... speed was 2521 now 995 It appears that fan hwmon1/fan1_input is controlled by pwm hwmon1/pwm1Would you like to generate a detailed correlation (y)? PWM 255 FAN 2521 PWM 240 FAN 2411 PWM 225 FAN 2345 PWM 210 FAN 2300 PWM 195 FAN 2220 PWM 180 FAN 2146 PWM 165 FAN 1979 PWM 150 FAN 1909 PWM 135 FAN 1721 PWM 120 FAN 1632 PWM 105 FAN 1451 PWM 90 FAN 1359 PWM 75 FAN 1196 PWM 60 FAN 1080 PWM 45 FAN 1010 PWM 30 FAN 1005 PWM 28 FAN 1004 PWM 26 FAN 1003 PWM 24 FAN 1002 PWM 22 FAN 1002 PWM 20 FAN 1002 PWM 18 FAN 1002 PWM 16 FAN 1001 PWM 14 FAN 1000 PWM 12 FAN 1000 PWM 10 FAN 1000 PWM 8 FAN 998 PWM 6 FAN 998 PWM 4 FAN 997 PWM 2 FAN 997 PWM 0 FAN 995这里选择基于哪个温度传感器控制PWM调速
Select a temperature sensor as source for hwmon1/pwm1:1. hwmon0/temp1_input 10) hwmon3/temp3_input2. hwmon1/temp1_input 11) hwmon3/temp4_input3. hwmon1/temp2_input 12) hwmon3/temp5_input4. hwmon1/temp3_input 13) hwmon3/temp6_input5. hwmon2/temp1_input 14) hwmon3/temp7_input6. hwmon2/temp2_input 15) hwmon3/temp8_input7. hwmon2/temp6_input 16) hwmon3/temp9_input8. hwmon3/temp1_input 17) None (Do not affect this PWM output)9. hwmon3/temp2_input此处的选项来自/sys/class/hwmon/下文件,通过查看/sys/class/hwmon<数字>/name可以知道对应系统哪个硬件的温度,之后通过sensors找到此温度对应的文件,选择之后会通过此文件的温度数值进行调速
# 风扇起转的温度Enter the low temperature (degree C)below which the fan should spin at minimum speed (20): 30# 最高温度Enter the high temperature (degree C)above which the fan should spin at maximum speed (60): 55# 风扇停转时的PWM调速值Enter the minimum PWM value (0-255)at which the fan STOPS spinning (press t to test) (100): 120# 风扇起转时PWM调速值Enter the minimum PWM value (0-255)at which the fan STARTS spinning (press t to test) (100): 135输入温度和PWM调速值保存并且退出之后,会在/etc生成fancontrol (/etc/fancontrol)的配置文件,我们也可以通过这个文件实时修改风扇调速的配置参数
# Configuration file generated by pwmconfig, changes will be lostINTERVAL=10DEVPATH=hwmon1=devices/platform/it87.2624DEVNAME=hwmon1=it8628FCTEMPS=hwmon1/pwm1=hwmon1/temp4_inputFCFANS= hwmon1/pwm1=hwmon1/fan1_inputMINTEMP=hwmon1/pwm1=30MAXTEMP=hwmon1/pwm1=55MINSTART=hwmon1/pwm1=150MINSTOP=hwmon1/pwm1=0MAXPWM=hwmon1/pwm1=120重启并自启调速服务,应用配置文件
root@pve:~/it87# systemctl start fancontrolroot@pve:~/it87# systemctl enable fancontrol使用systemctl status查看运行情况
● fancontrol.service - fan speed regulator Loaded: loaded (/usr/lib/systemd/system/fancontrol.service; enabled; preset: enabled) Active: active (running) since Fri 2026-07-03 21:49:12 CST; 2 days ago Invocation: 5c0176929edd4370be86ebd78e60c3cb Docs: man:fancontrol(8) man:pwmconfig(8) Main PID: 912 (fancontrol) Tasks: 2 (limit: 25790) Memory: 1.9M (peak: 4.3M) CPU: 2min 52.899s CGroup: /system.slice/fancontrol.service ├─ 912 /bin/bash /usr/sbin/fancontrol └─814011 sleep 10
Jul 03 21:49:12 pve fancontrol[912]: Controls hwmon1/fan1_inputJul 03 21:49:12 pve fancontrol[912]: MINTEMP=30Jul 03 21:49:12 pve fancontrol[912]: MAXTEMP=55Jul 03 21:49:12 pve fancontrol[912]: MINSTART=150Jul 03 21:49:12 pve fancontrol[912]: MINSTOP=0Jul 03 21:49:12 pve fancontrol[912]: MINPWM=0Jul 03 21:49:12 pve fancontrol[912]: MAXPWM=120Jul 03 21:49:12 pve fancontrol[912]: AVERAGE=1Jul 03 21:49:13 pve fancontrol[912]: Enabling PWM on fans...Jul 03 21:49:13 pve fancontrol[912]: Starting automatic fan control...程序已在运行,并且成功对风扇进行调速
支持与分享
如果这篇文章对你有帮助,欢迎分享给更多人或打赏支持!